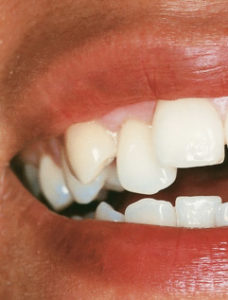
Figure 1: Pretreatment, right lateral view
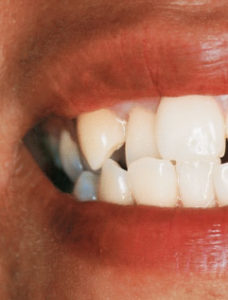
Figure 2: Pretreatment, cross-bite upper right lateral incisor.
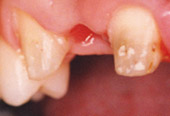
Fig. 3:Atraumatic extraction of tooth 7.
Socket site is intact
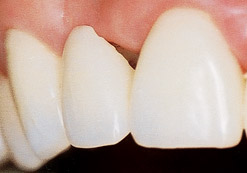
Figure 4a: Temporary bridge
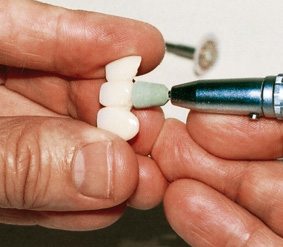
Figure 4b: Sculpting the ovate pontic
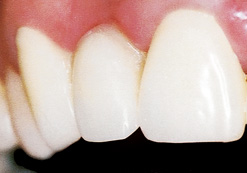
Figure 4c: The temporary bridge is shown cemented
in place after extraction and site preparation.
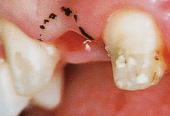
Figure 6a: Before gingivoplasty
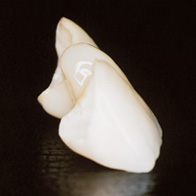
Figure 5: Notice the high polished “egg” portion
Figure 6a: Before gingivoplasty
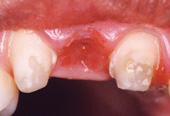
Figure 6b: After remodelling
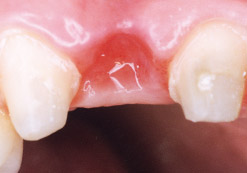
Figure 7: The delayed condition is seen to have caused a slight
inflamatory reaction in the soft tissues
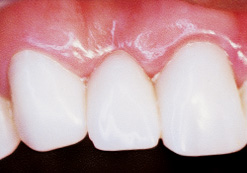
Figure 8: The tissue has adapted to the temporary ovate pontic.
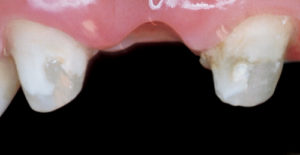
Figure 9: The soft tissues have changed dramatically, showing well-rounded ovate pontic receptor sites and papillae formation

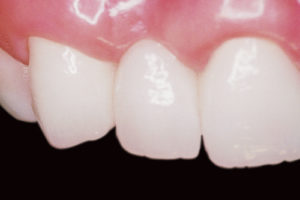
Figure 10b: The all-ceramic restaurations are shown bounded in place. The scalloped gingival architecture, although more apicalized, appeared to be preserved and demonstrated satisfactory harmony.
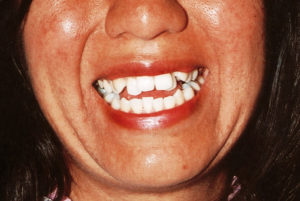
Figure 11a: Pretreatment
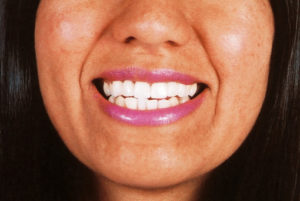
Figure 11b: Post-treatment
